Installing the PayBridgeNP WHMCS module takes about 10 minutes. You’ll download a ZIP, extract it into your WHMCS install, activate the gateway from Apps & Integrations, and paste your PayBridgeNP test or live key plus the webhook signing secret.Documentation Index
Fetch the complete documentation index at: https://docs.paybridgenp.com/llms.txt
Use this file to discover all available pages before exploring further.
Before you start
You need:- A WHMCS installation (version 8.0 or newer) running on PHP 7.4 or newer with the ionCube Loader extension enabled
- Your invoice currency set to NPR (Nepalese Rupee) in Configuration → System Settings → Currencies - this module only sends NPR amounts
- A PayBridgeNP API key from the PayBridgeNP dashboard under Settings → API Keys (either
sk_live_…orsk_test_…) - Administrator access to your WHMCS admin area and SSH / SFTP access to the WHMCS install directory on your server
Step 1 - Download the module
Download the latest release from paybridgenp.com/integrations/whmcs by clicking the Download module button, or find us on the WHMCS Marketplace. You’ll get a file named:Step 2 - Extract into your WHMCS install
The ZIP is structured to drop into the root of your WHMCS install. From the server’s WHMCS directory (the one containingconfiguration.php, admin/, modules/, etc.):
modules/gateways/:
Step 3 - Activate the gateway
- Log in to your WHMCS admin area
- Go to Configuration → System Settings → Payment Gateways
- Click the All Payment Gateways tab (or the → Visit Apps & Integrations button)
- Find PayBridgeNP in the list and click the tile
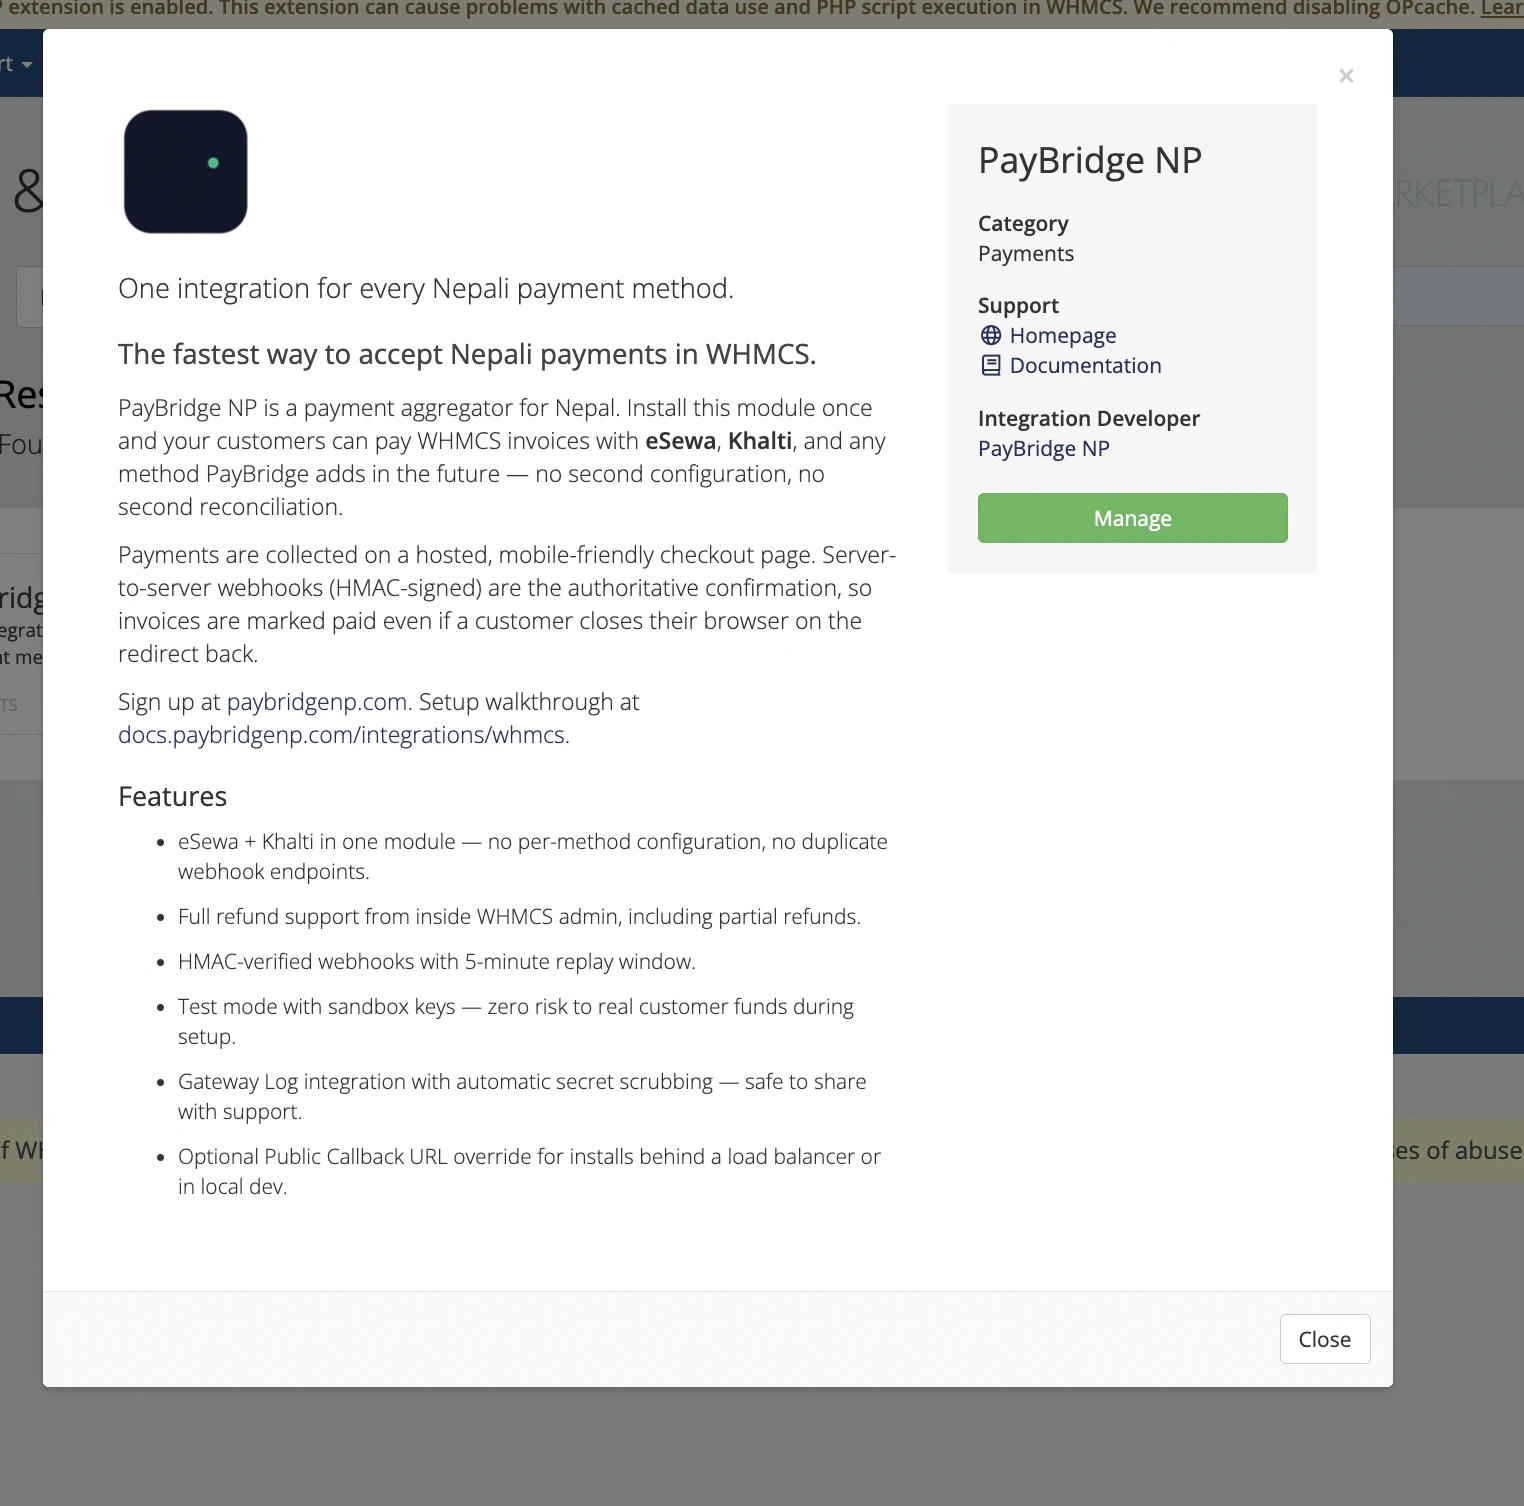
- Click Activate (or Manage if it’s already activated)
Step 4 - Configure the gateway
Fill in the form: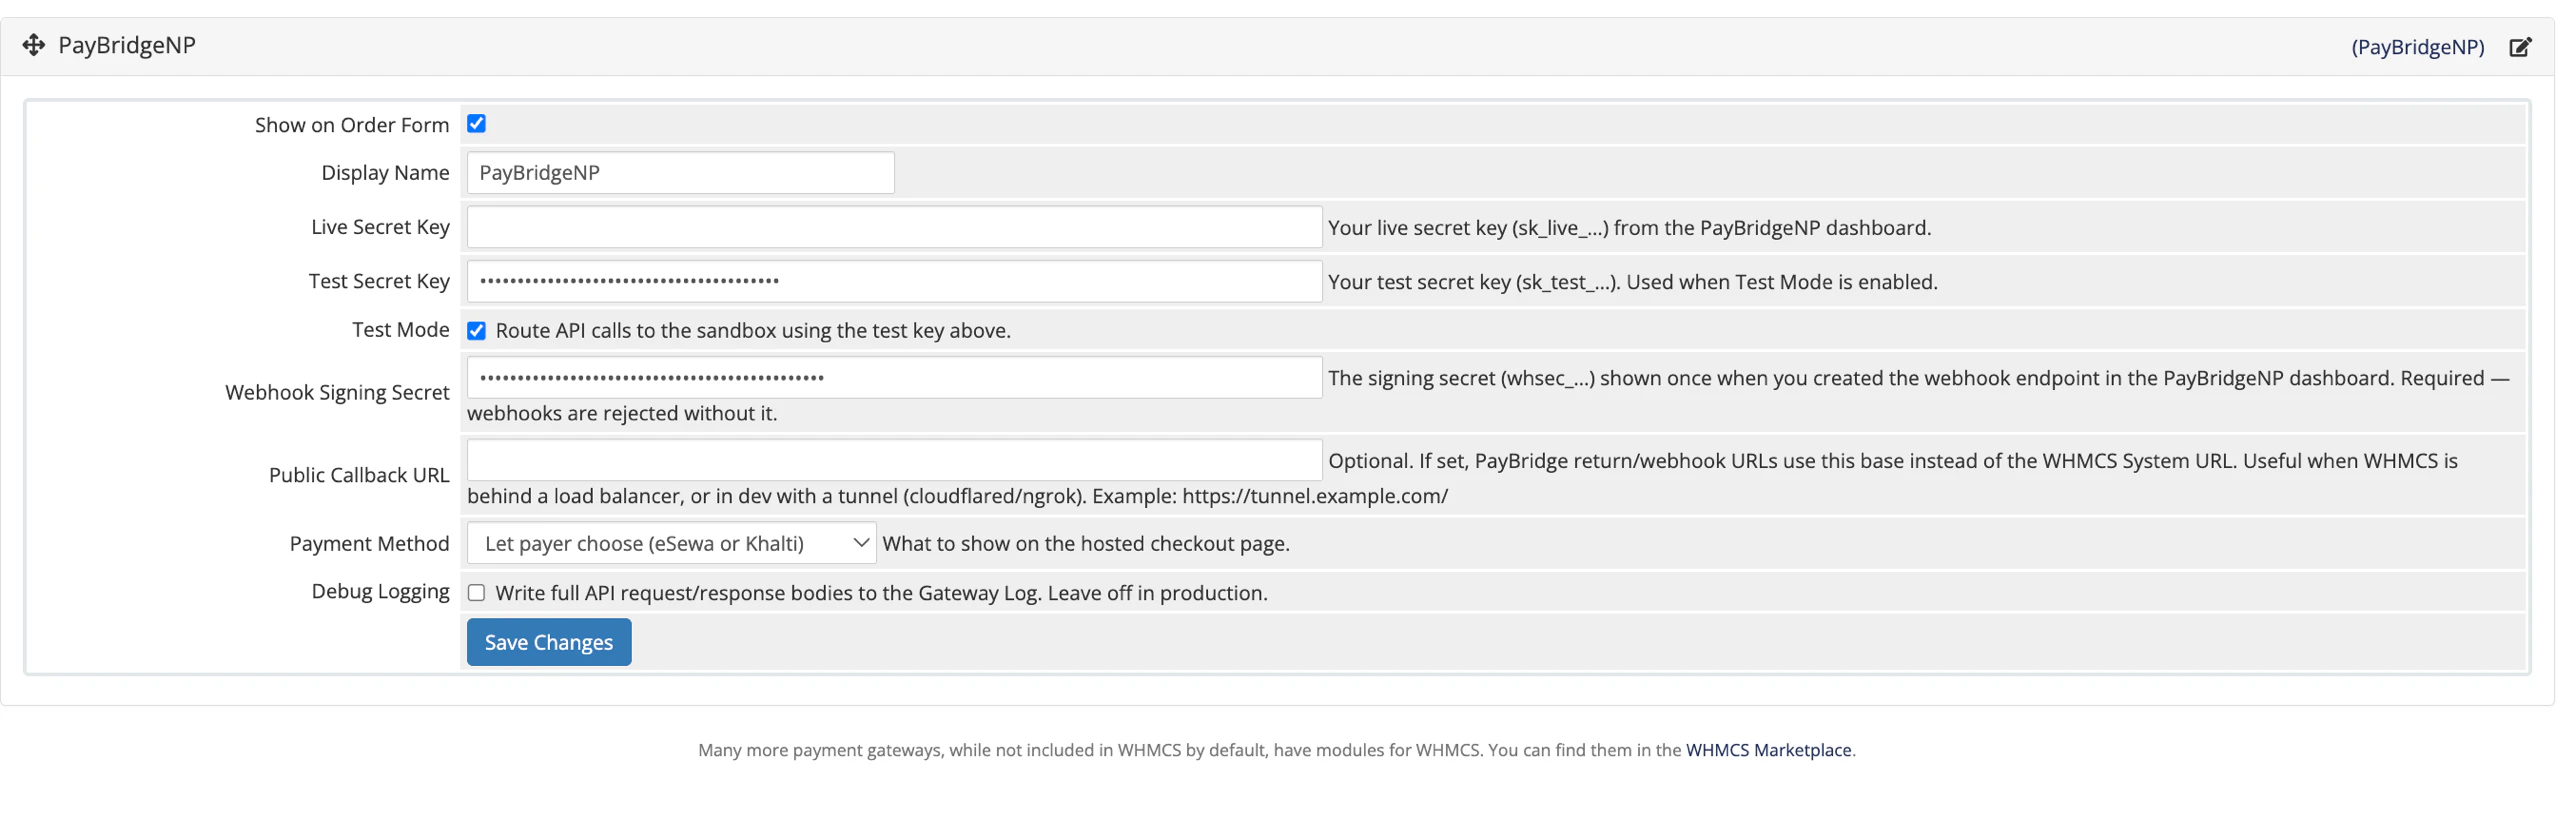
| Field | Value |
|---|---|
| Show on Order Form | ✅ check to expose PayBridgeNP on client-facing checkout |
| Display Name | PayBridgeNP (or whatever you want customers to see, e.g. Pay with eSewa or Khalti) |
| Live Secret Key | Paste your sk_live_… key. Leave blank while you’re testing with sk_test_…. |
| Test Secret Key | Paste your sk_test_… key. Used when Test Mode is enabled. |
| Test Mode | Check while you’re testing - routes all API calls to the sandbox using the test key above |
| Webhook Signing Secret | Your whsec_… - see Step 5 |
| Public Callback URL | Usually leave blank. Fill only if your WHMCS is behind a load balancer, a different public hostname, or you’re using a tunnel in local dev. Example: https://tunnel.example.com/ |
| Payment Method | Leave as Let payer choose - the hosted page shows both eSewa and Khalti. Or force one method if you only want one visible. |
| Debug Logging | On while testing - writes full API request/response bodies to the Gateway Log. Turn off in production. |
Step 5 - Register the webhook
The webhook is required. Without it, customers can successfully pay on the PayBridgeNP hosted checkout but the WHMCS invoice will stay Unpaid - WHMCS has no way to know the payment completed.- In your PayBridgeNP dashboard, go to Webhooks → Add endpoint
-
Set the URL to the full callback path on your WHMCS install:
-
Events to subscribe to:
payment.succeededpayment.failedpayment.cancelled
- Click Create endpoint
-
PayBridgeNP shows you the signing secret (
whsec_…) exactly once. Copy it immediately. - Paste it into the Webhook Signing Secret field in the gateway config from Step 4, then click Save Changes
Step 6 - Place a test invoice
Switch to a non-admin browser (or use an incognito window) so you see the client area like a real customer does.- In WHMCS admin, go to Clients → Add New Client and create a minimal client record
- Open that client → Invoices tab → Create New Invoice - add a line item (e.g.
TestforRs. 100.00), set Payment Method toPayBridgeNP - Click Publish - drafts don’t show a Pay button on the client side
- Click View as Client (or use the client-area login link)
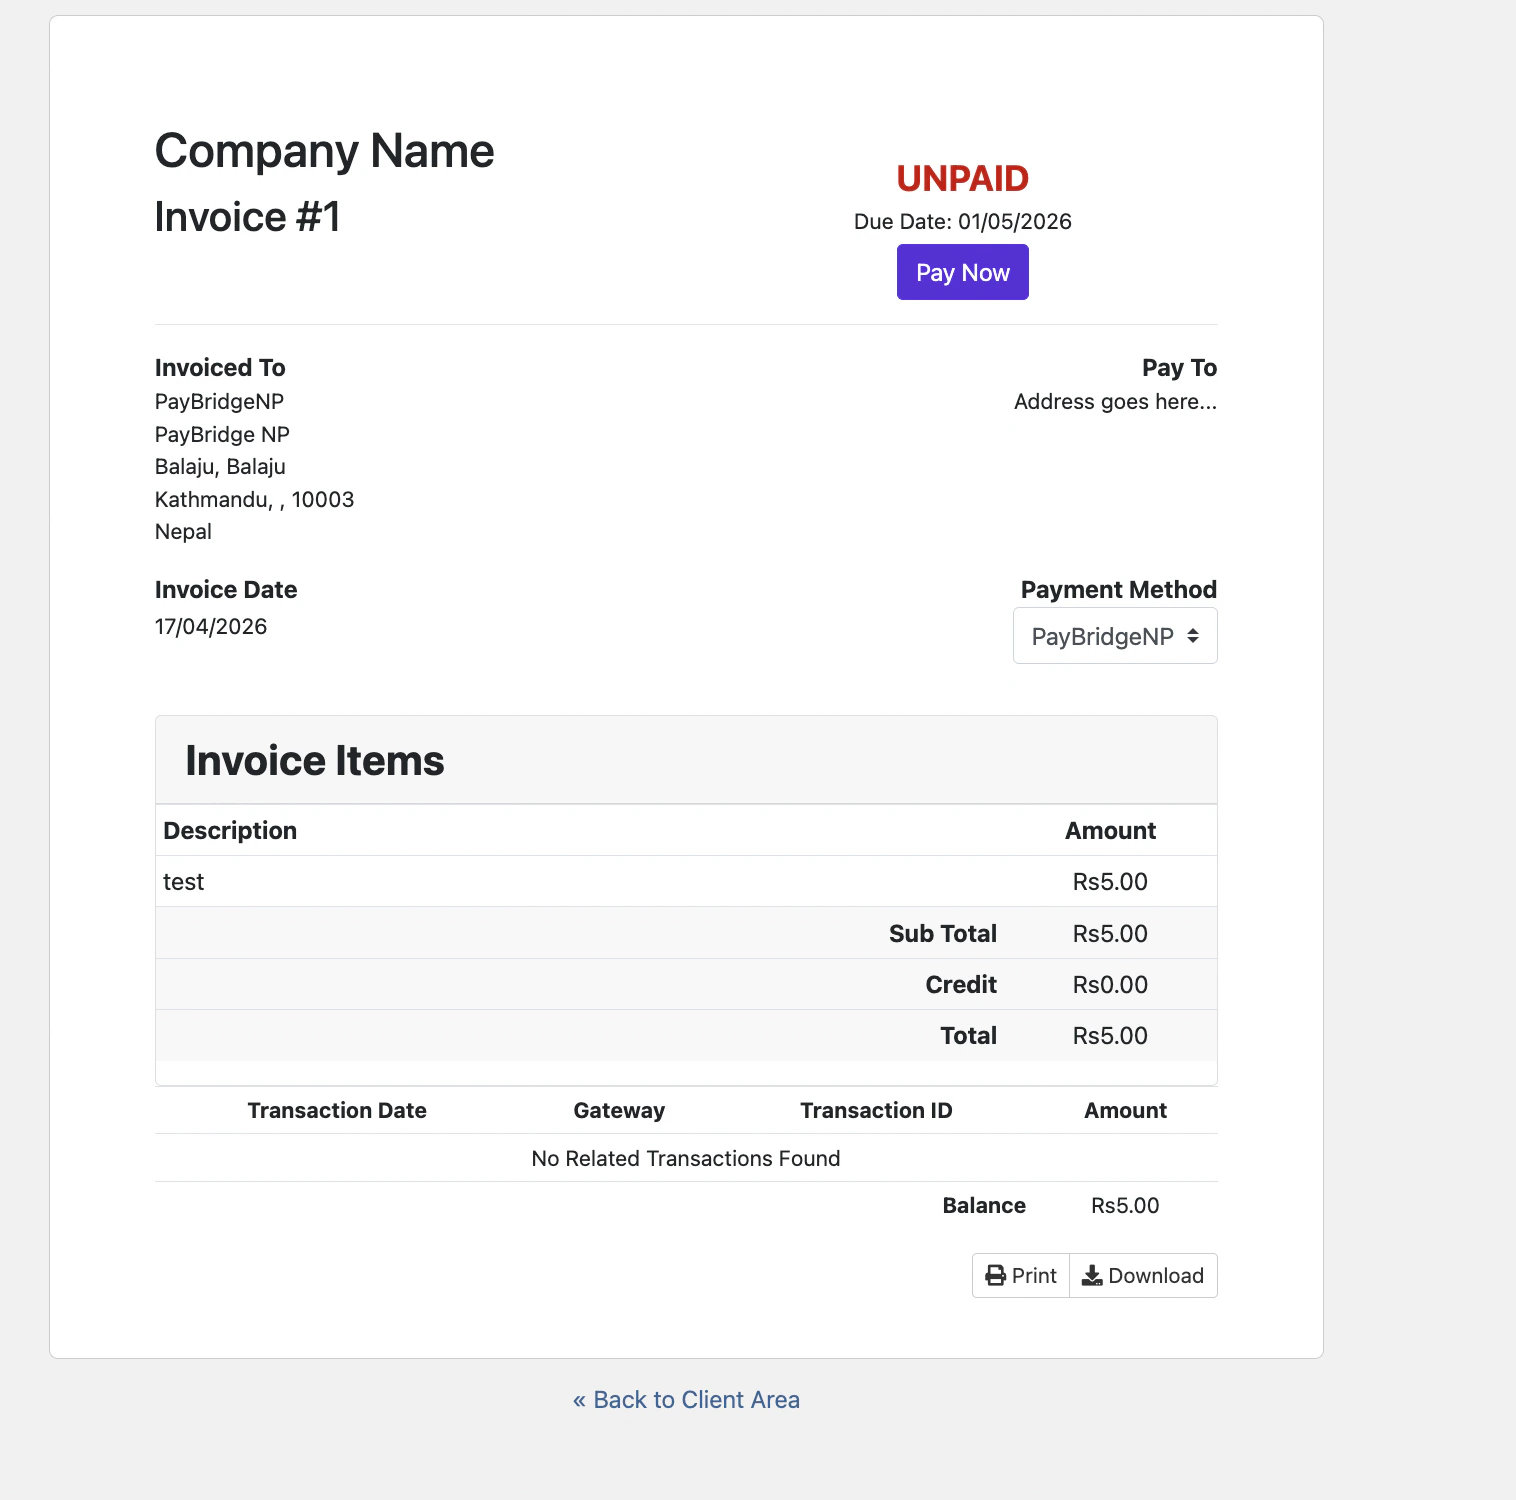
What should happen
- Clicking Pay Now creates a PayBridgeNP checkout session and redirects you to the hosted payment page
- Pick eSewa or Khalti on the hosted page and complete the payment (sandbox credentials listed below)
- PayBridgeNP redirects you back to the WHMCS invoice view
- Within a few seconds the signed webhook arrives and the invoice flips to Paid - a transaction row appears under Transactions with the PayBridgeNP payment id (
pay_…)
Sandbox test credentials
If you used ask_test_… key, use the built-in sandbox credentials on the PayBridgeNP hosted checkout:
| Provider | Credential |
|---|---|
| eSewa | Merchant code EPAYTEST, any amount |
| Khalti | Phone 9800000001, PIN 1111, OTP 987654 |
Local development webhook testing
If you’re running WHMCS onhttp://localhost (e.g. inside Docker), PayBridgeNP can’t reach it directly. Use a tunnel:
https://…trycloudflare.com/ URL into the Public Callback URL field in your gateway settings. This lets our module generate return/webhook URLs against the tunnel without you having to change the WHMCS System URL (which affects admin navigation).
Register the webhook in your PayBridgeNP dashboard against the same tunnel URL - full path, as always:
Updating the module
When a new version ships:- Download the latest ZIP from paybridgenp.com/integrations/whmcs or the WHMCS Marketplace
- Extract it into the root of your WHMCS install - files overwrite in place; your gateway config persists because it’s stored in
tblpaymentgateways, not on disk
What’s next
- How it works - payment flow, invoice state transitions, security model
- Troubleshooting - common issues and how to fix them